Time: 120 min
Description: This workshop will introduce you to the world of using creating simple websites using the markdown language. A it will involve a practical application of version control principles which can be applied to other code as well.
Creating up a github account Creating a repository Introduction to markdown syntax for formatting Creating a simple webpage with markdown Modifying pages and tracking changes How to use Github for collaboration
Websites with GitHub
Git is a piece of software that manages version control (like track changes in Word) of code in projects known as repositories. GitHub is a website that is used to host these repositories but it also does much more and provides some automation of compiling code - one of these automations was designed to compile web-based languages into websites that could be used to communicate about your repositories. In this workshop, we’re going to leverage this automated process from what is known as GitHub Pages in order to create simple websites.
For this workshop, we’re going to create two websites, the first is a “sandpit” where we’ll introduce how to get a website up and running from scratch. The second, we’ll use an existing template for an academic CV that you can then customise.
Creating a GitHub Account
In order to use GitHub, we need to create an account for ourselves.
- Open up your web browser and go to https://github.com
Sign up a GitHub account
Sign in to your GitHub account
Now that we’re set up with an account, we can start creating our first website
Website Repository
First we need to create the repository (project) where the code for our website is going to live.
- Click on the Plus icon in the top left

Select
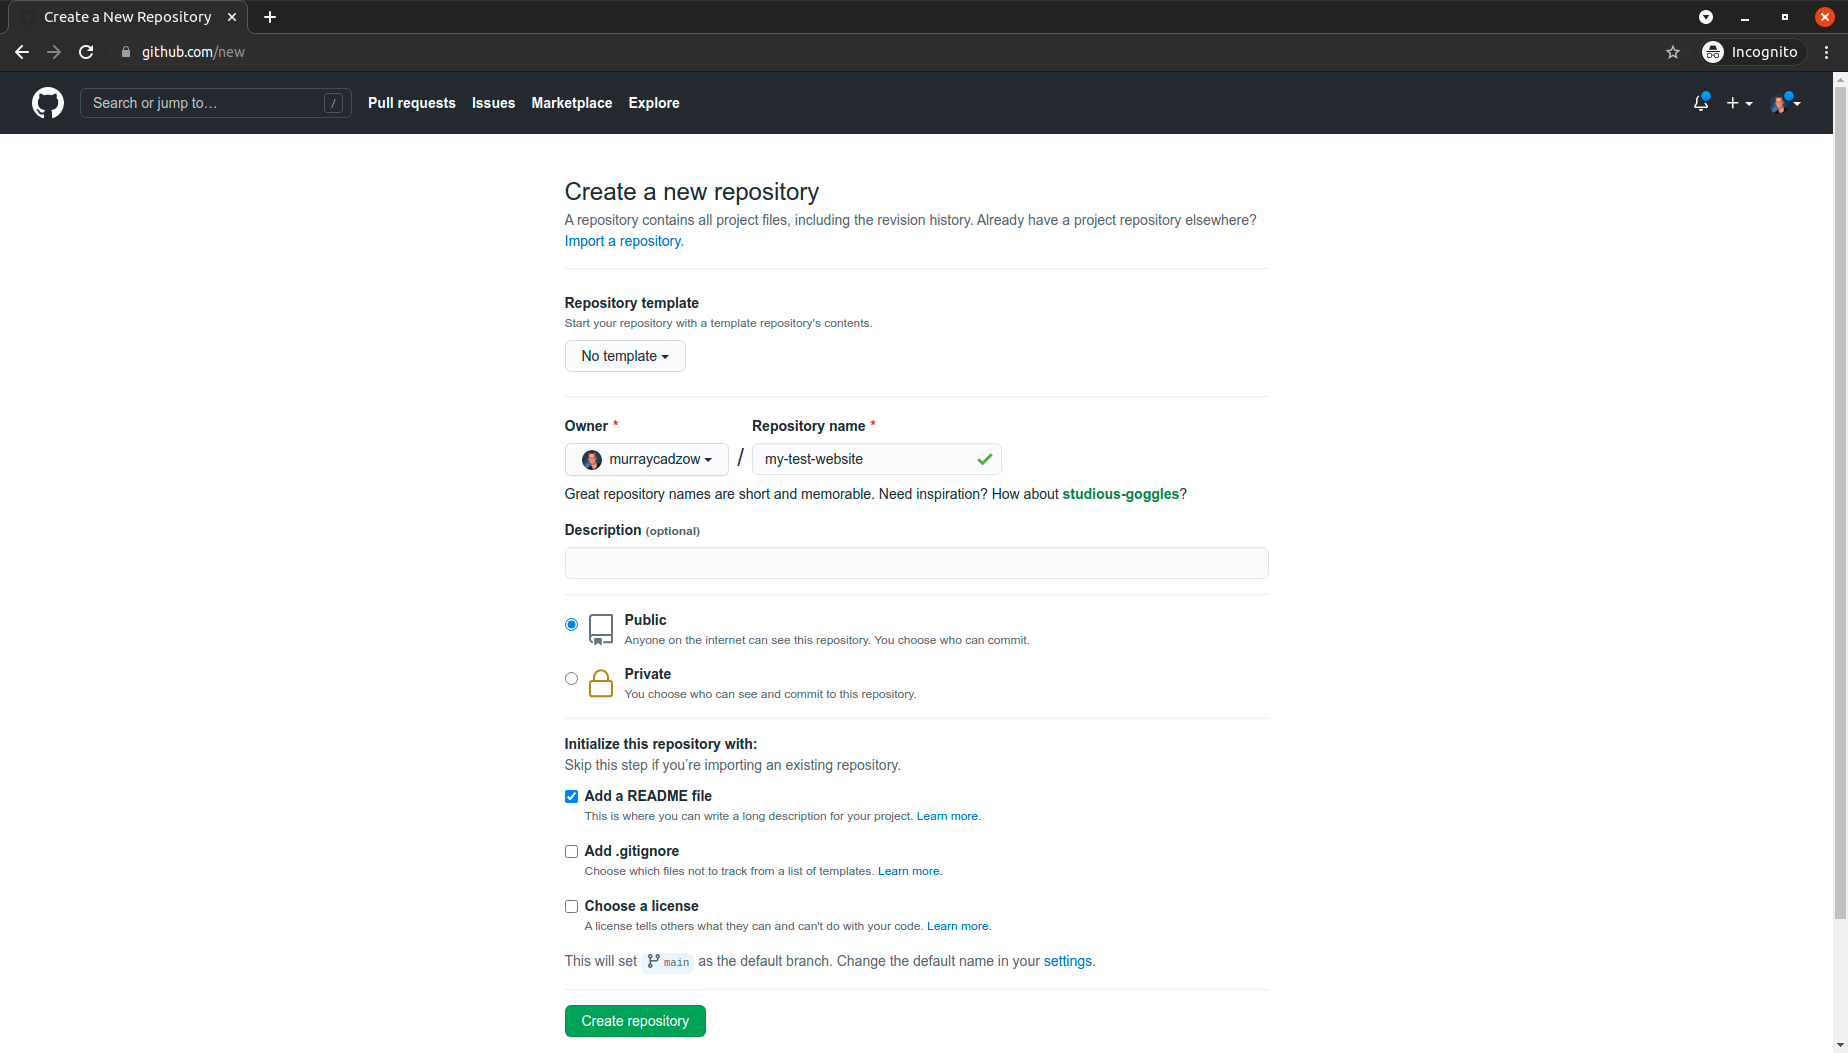
New RepositoryFill in the details
- Choose a name for your repository - this will end up as part of the url for your website: e.g.
my-test-websitefor me would end up ashttps://murraycadzow.github.io/my-test-website - Select
Public - Check
Add a README file
- Choose a name for your repository - this will end up as part of the url for your website: e.g.
Click
Create Repository
- Create your site
Click the Settings menu (near top right next to the cog)
Then click on the Pages link from the left-hand Options menu
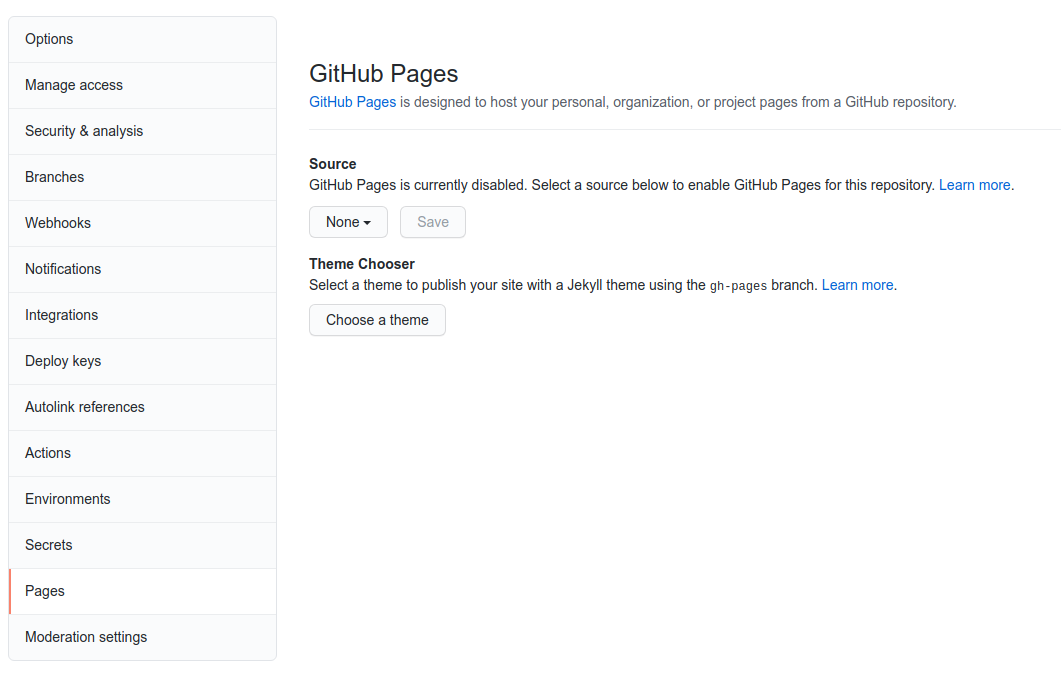
Currently GitHub Pages is disabled so we need to change the source from None to main.
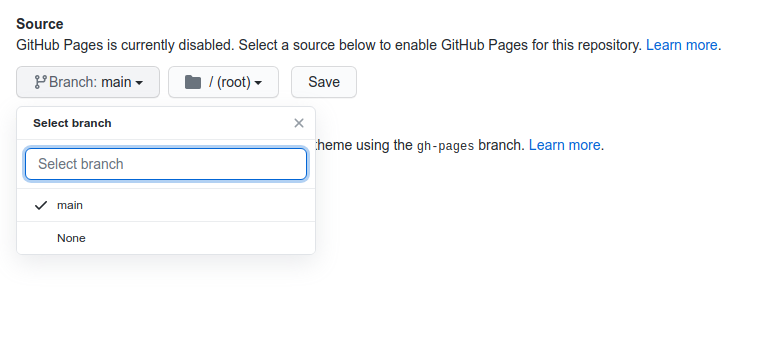
Leave it set to / (root) and click Save. This means that GitHub will take our files we write in markdown and convert them to HTML for us.
GitHub will also tell you the URL that the website is now being published to
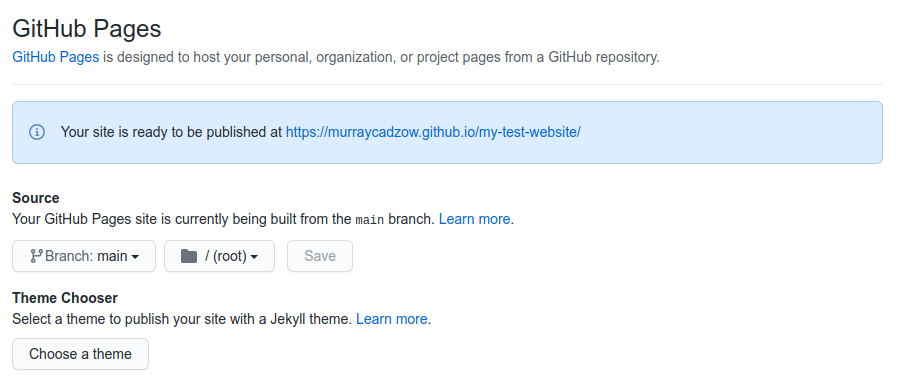
Customising
Next we’ll pick a theme for our website.
Click the Choose a theme button and then browse through the themes in the gallery and select one you like with the Select theme button.
You’ll then be put in to editing your README.md file which now contains a template text explaining some of the markdown syntax (which we’re about to cover next).
Scroll to the bottom and click the green Commit changes button
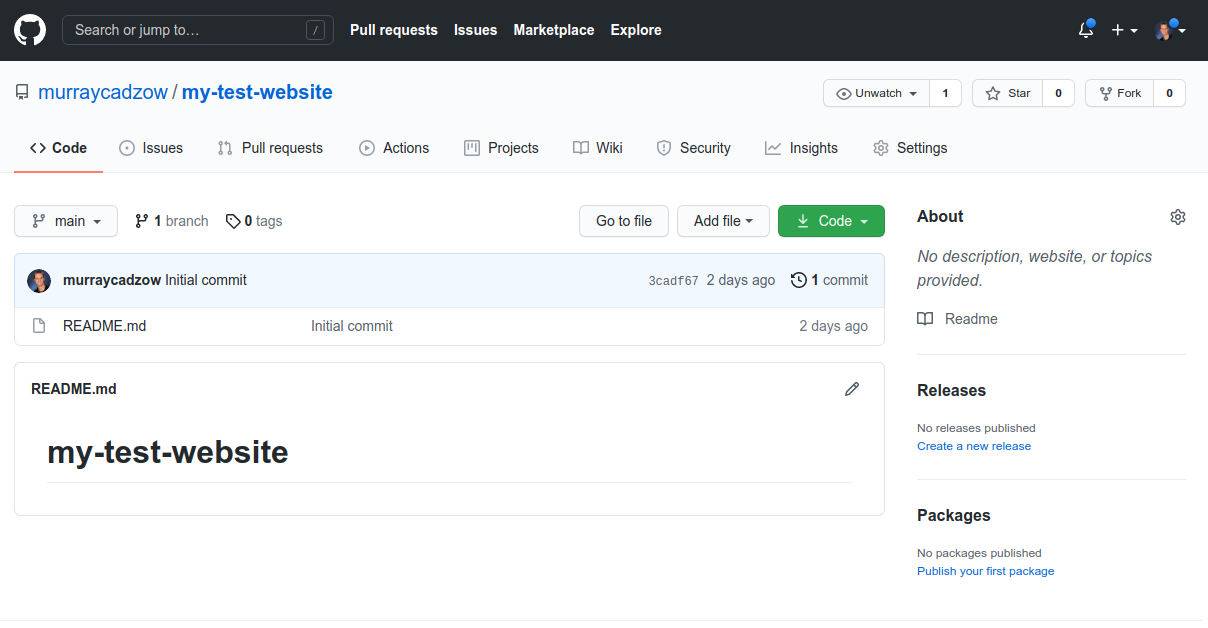
Now click on your repository name at the top left to come back to seeing the contents of your repository
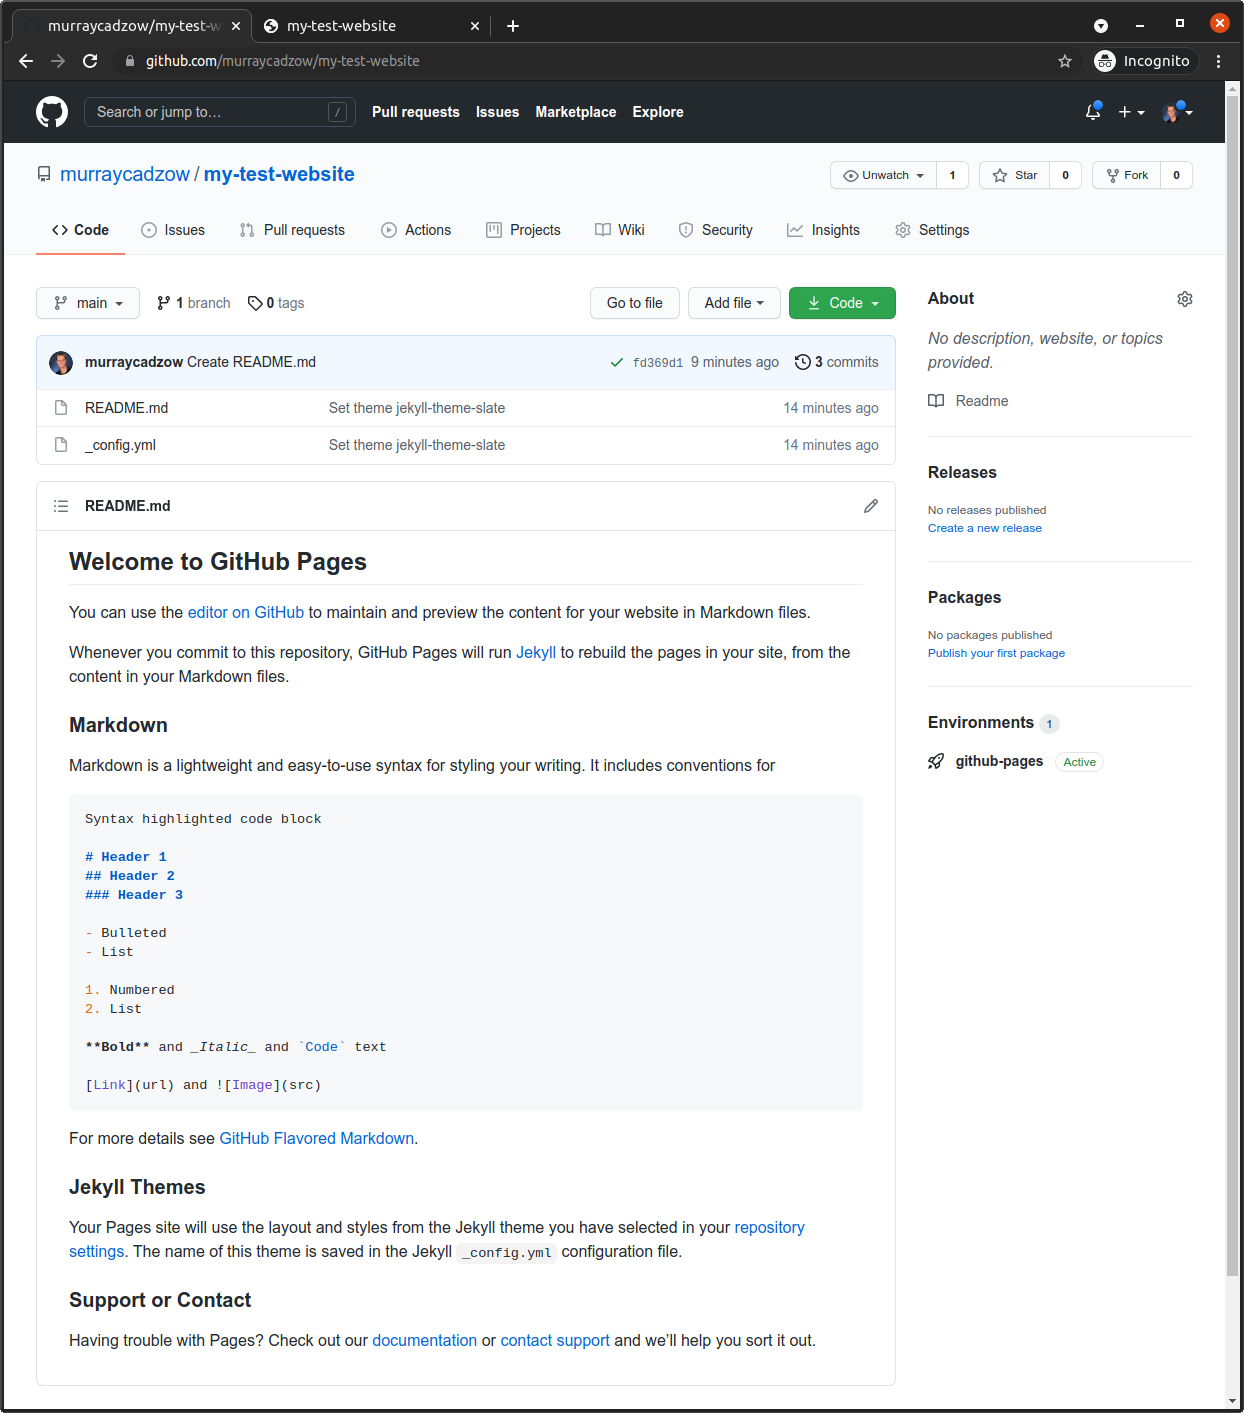
You’ll see two files, the first is the README.md which is being displayed, and the second is a file _config.yml which contains the configuration information for your website. So far the only configuration is the choice of theme.
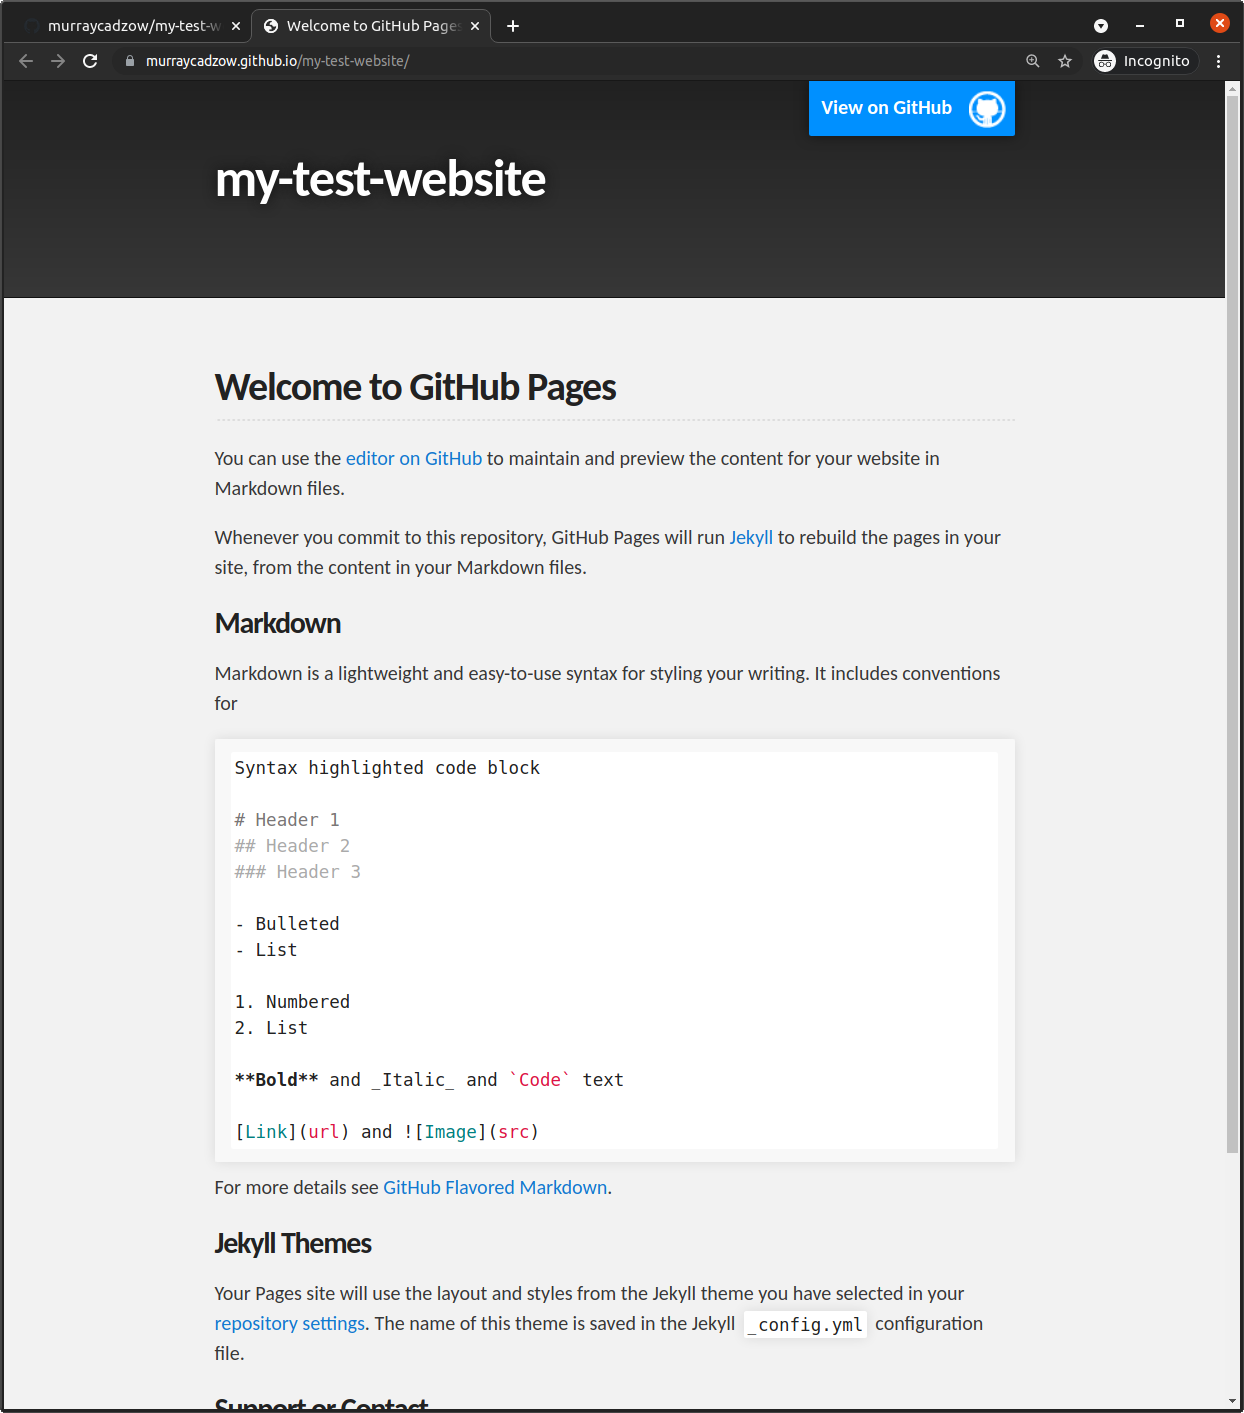
I chose the slate theme and now my website looks like this
Markdown
GitHub Pages is an automatic system that will convert files written in markdown (commonly with a .md file extension) into HTML webpages. Markdown itself is a simplified text based syntax used for styling of writing.
Take a look at the contents of the README.md to see some of the syntax we can use to style the text of our website.
Create a website from a template
- example template: https://academicpages.github.io
Customising